Cold Weather Exterior Painting: Limits, Steps and NYC Tips
Cold weather exterior painting guide: check surface temperature, dew point and cure time before you paint. Limits, prep and NYC winter tips.
By Excellent Home Improvement & Remodeling
The most popular advice about cold weather exterior painting is to wait for a warm afternoon. That's not enough. A comfortable day can leave a shaded wall too cold or damp to paint, and an overnight temperature drop can ruin a coating that looked fine when the crew packed up.
Judge the wall, not just the forecast. In New York City, that means checking the actual surface, planning around condensation, and treating old paint as a potential lead hazard before anyone starts scraping.
Table of Contents
- Minimum Temperatures for Each Exterior Paint Type
- Surface Temperature and Dew Point Checks That Matter
- Lead Paint Rules That Apply to Winter Exterior Jobs
- Prep, Paint and Cure in Cold Weather
- Paint Now or Wait Until Spring
Minimum Temperatures for Each Exterior Paint Type
| Paint or rule | Minimum temperature | Notes |
|---|---|---|
| Oil-based exterior paint | 40°F (4°C) air and surface, according to the USDA Forest Products Laboratory guide | Dark, thick coats are especially vulnerable to temperature blistering. |
| Traditional latex (water-based) | USDA guidance sets 50°F (10°C); Sherwin-Williams application guidance says traditional latex needs temperatures above 60°F to cure properly | USDA guidance calls for temperatures at or above 50°F for at least 24 hours after application. |
| Low-temperature exterior acrylic | Certain products can cure as low as 35°F, according to the manufacturer guidance linked immediately above | Confirm the actual product's application and curing limits. |
| Benjamin Moore planning range | Benjamin Moore's exterior temperature guidance recommends 35°F to 100°F with low humidity and identifies 77°F as optimal | This is a planning range, not permission to apply every latex paint at its lower end. |
| Dew point margin for any paint | Surface at least 5°F (3°C) above dew point, according to DeFelsko's environmental measurement guidance | Maintain the margin during preparation, application, and curing. |
These are screening limits, not interchangeable promises. Oil-based paint tolerates cooler application than conventional latex, but switching to oil isn't a shortcut around wet wood, incompatible existing coatings, or a cold primer.
Latex needs enough warmth for its polymer particles to merge into a continuous film. When cold interrupts that process, the coating can look dry without developing dependable adhesion. Adding a heavier coat doesn't solve it; it leaves more material struggling to dry.
Choose a coating system, not just a topcoat
A cold-rated acrylic can extend the season, but the primer and repair materials must also suit the conditions. Check caulk, patching compound, and masonry repairs before selecting the finish coat. The material with the most restrictive application requirements sets the practical limit.
For paint without a clear cold-weather rating, use the conventional latex floor in the table as the minimum screening point and aim for the warmer curing conditions. Don't assume that exterior on the can means winter-ready.
Practical rule: A low-temperature rating buys flexibility. It doesn't buy protection from condensation, frost, or a falling overnight forecast.
Find the controlling instructions
Read the technical data sheet for the exact product and base you're buying. Look for minimum air and surface temperatures, curing restrictions, moisture requirements, and cold-weather recoat times.
Also check whether the temperature must be steady or rising. A wall that barely qualifies while warming is a different proposition from a wall approaching the same reading while cooling. The label and technical data sheet control, not a general chart or the weather app.
Surface Temperature and Dew Point Checks That Matter
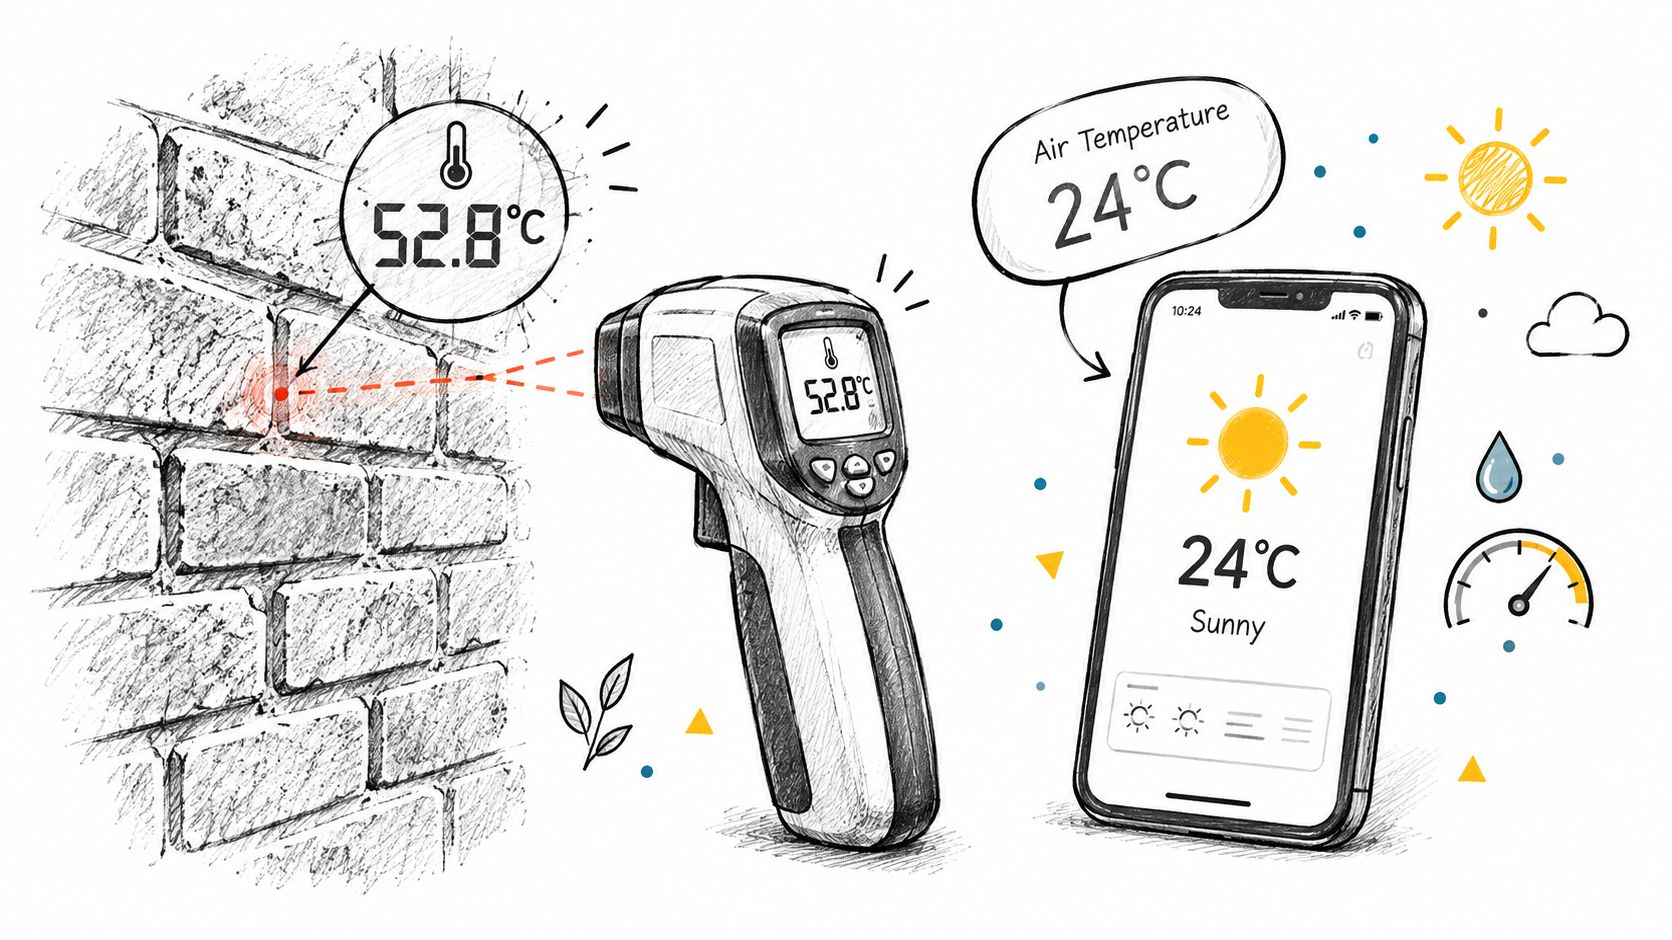
Your weather app measures the wrong thing for deciding whether a particular wall is ready. It describes local air conditions, not the shaded brick behind a Bronx rowhouse or the metal trim beside a windy passage.
Use an infrared thermometer to check the actual substrate in several places. Include sheltered corners, lower siding, window surrounds, and areas that have only recently entered sunlight.
Measure the gap that matters
Read relative humidity with a thermo-hygrometer and use its dew point function, or calculate dew point from the local air temperature and humidity. Subtract dew point from surface temperature to find the available margin.
Sherwin-Williams exterior application guidance calls for a surface at least 5°F above dew point and recommends suitable temperatures and above-dew-point conditions for at least 48 hours after application. A passing reading at lunchtime isn't enough if the wall will become wet during the curing window.
Be careful with shiny metal. Reflective surfaces can give misleading infrared readings, so verify them with a contact surface probe. Don't measure sun-warmed trim and use that reading to approve the shaded siding beside it.
Different materials need separate checks
Brick and masonry can retain overnight cold after the air warms. Painted wood may carry dew into late morning, especially beneath deep eaves or beside vegetation.
Metal changes temperature quickly in direct sun and can cool sharply when shade arrives. Interior heating also creates uneven conditions: an occupied room may warm one wall area while an unheated stairwell leaves the adjoining area colder.
In NYC, neighboring buildings can block winter sun for most of the day. Wind through a narrow side yard can shorten the useful work period even while the front elevation remains comfortable.
The following are hypothetical field readings, not product approvals. Each verdict assumes the coating's other requirements are satisfied.
| Scenario | Air temperature | Verdict |
|---|---|---|
| Sunny south-facing brick, late morning | 52°F; surface 55°F; dew point 40°F; margin 15°F | Proceed with a suitable cold-rated acrylic; stop before evening moisture. |
| North-facing wall in shade | 52°F; surface 41°F; dew point 40°F; margin 1°F | No-go; the condensation margin fails. |
| Painted wood after overnight dew | 48°F; surface 43°F; dew point 42°F; margin 1°F | No-go until the surface dries and the margin opens. |
| Metal siding in direct sun | 45°F; surface 58°F; dew point 36°F; margin 22°F | Proceed only if the data sheet covers the reading; monitor rapid heating and blistering. |
| Heated interior, cooled exterior wall | 40°F; surface 34°F; dew point 33°F; margin 1°F | No-go; indoor comfort doesn't establish exterior readiness. |
Lead Paint Rules That Apply to Winter Exterior Jobs
The lead check comes before scraping, not after a crew uncovers an unfamiliar coating. Fresh-looking paint can conceal older layers, and a winter repaint doesn't make those layers safer to disturb.
The U.S. Forest Service's lead-based paint guidance reports that most structures built before 1960 contain lead-based paint and explains why housing built before the residential prohibition in 1978 may retain lead-containing layers. Its regulatory discussion identifies the EPA Renovation, Repair and Painting Rule's April 2010 certification requirements and disturbance thresholds of more than 20 square feet outside or 6 square feet inside.
Treat those as regulatory screening points, not permission to spread dust below them. Exceptions, covered activities, and required work practices need to be evaluated for the actual job.
Establish what's being disturbed
Before sanding or scraping, arrange appropriate testing through a qualified professional. A recognized test kit may be suitable for some work; other situations call for a paint-chip laboratory sample or a professional inspection. A casual surface-only check doesn't establish what's buried beneath the finish.
Say a brownstone repaint requires scraping peeling paint across the front façade. That's not a minor touch-up just because the painter plans to finish quickly. Establish the disturbed area and the lead-safe scope before approving the proposal.
Review what to check when hiring a licensed NYC contractor, then verify lead-safe firm certification separately. A general contractor license and lead-safe certification serve different purposes.
Require a lead-safe work plan
- Test before disturbance. Document the result and the surfaces it covers.
- Use controlled wet methods. Don't allow uncontrolled dry scraping or sanding that spreads contaminated dust.
- Contain the debris. Use secured plastic sheeting and suitable protective coverings; protect doors, windows, neighboring property, and pedestrian routes.
- HEPA-vacuum the work area. An ordinary shop vacuum isn't a substitute for lead-dust control.
- Keep cleanup records. Require documentation of work practices, waste handling, and the applicable cleaning verification.
Freezing conditions can complicate wet methods, while winter wind can defeat poorly secured containment. If the crew can't maintain safe containment and cleanup, postpone the disturbance.
Cold weather changes the logistics. It does not suspend lead-safe requirements.
A January exterior job needs the same regulatory attention as a spring repaint. Don't accept winter scheduling as a reason to skip testing or certification.
Prep, Paint and Cure in Cold Weather
Good winter work starts with a smaller, controllable scope. Prepare only what the crew can protect and finish within a defensible weather window, rather than stripping every elevation and hoping the forecast holds.
The sequence below keeps surface preparation and moisture checks ahead of paint application.
Prepare without creating another moisture problem
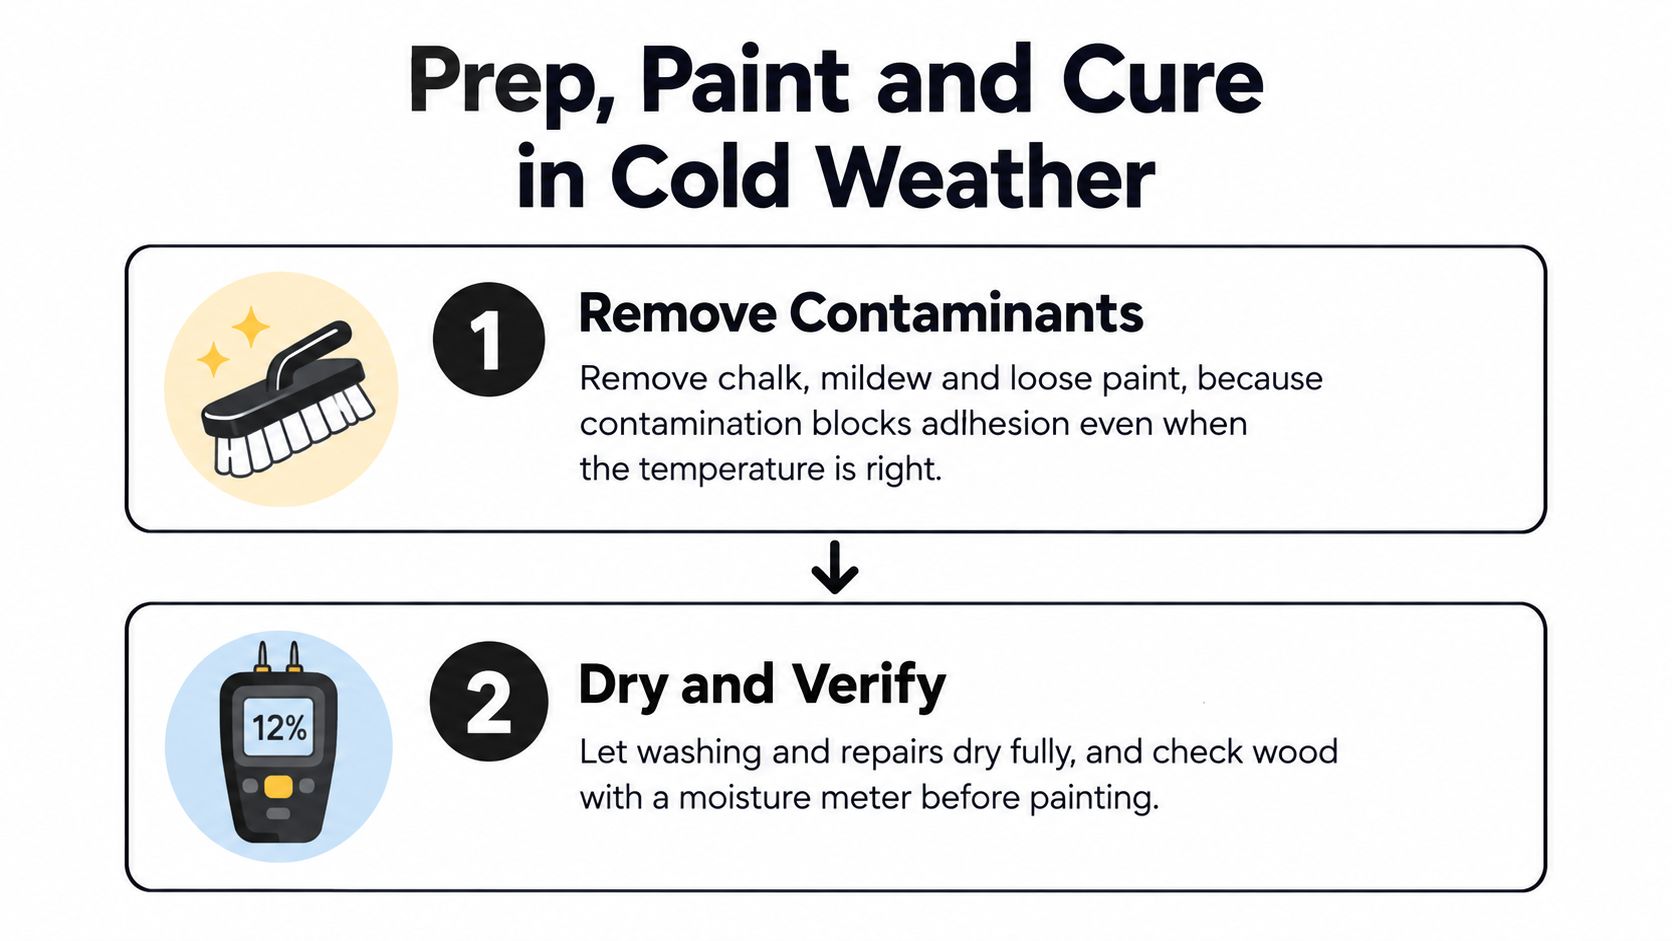
Remove contamination and unstable coating. Clean dirt, chalk, and mildew using a substrate-appropriate cleaner, then remove loose paint under the required containment. Feather sound coating edges so the repair doesn't leave a visible ridge. The common mistake is treating primer as glue for chalk or peeling paint.
Let washing and repairs dry fully. Check wood with a moisture meter and compare the reading with the coating's written limit. Probe suspect joints and lower trim rather than measuring only a sunny, exposed board. A surface can feel dry while the wood beneath it still holds moisture.
Match the entire system to measured conditions. Select compatible primer and finish materials for the substrate, then check the temperature requirements of fillers and caulk. Don't put a winter-rated topcoat over a repair material that hasn't cured. Store cans indoors overnight within their specified storage conditions, and don't use paint that has frozen unless the manufacturer confirms it remains usable.
Washing creates its own scheduling problem. Aggressive pressure washing can push water into joints and porous masonry, leaving a longer drying job than expected. Use the least aggressive effective cleaning method and avoid creating runoff that can freeze on steps or sidewalks.
Apply within the wall's useful window
Record conditions before opening the can. Log air temperature, surface temperature, humidity, and dew point by elevation. Repeat the checks when sunlight, wind, or cloud cover changes. A reading taken at the front door doesn't approve the entire building.
Start after dew has cleared. Sun-exposed elevations often become workable first, but measure before committing. On a Bronx detached house, the front siding may qualify while the narrow side yard remains damp. Don't send another painter around the corner just to keep everyone busy.
Apply thin, uniform coats at the specified coverage. Work the coating into the prepared surface and maintain a wet edge without loading extra material into corners. Preserve airflow around protected work. Plastic draped tightly against a wall can trap condensation or touch and damage the wet finish.
Stop while drying conditions remain favorable. Finish at a sensible break such as a corner or complete trim assembly. Stretching the day to empty a bucket can leave the last section exposed to moisture before it's ready. Don't paint a surface that's cooling rapidly just because another elevation still feels warm.
Leave a usable job record. Record the coating batch, elevation, start and stop times, changing conditions, and the forecast through the curing period. Photograph prepared surfaces and completed areas. Without that record, it's difficult to distinguish a moisture problem from poor preparation or an incompatible coating.
For a larger scope, ask the contractor's painting services team to separate preparation, priming, and finish-coat visits in the proposal. A winter schedule may require return trips instead of continuous production.
Separate moisture resistance, recoating, and full cure
Immediately after application, protect the film from moisture rather than testing whether it feels dry. Sherwin-Williams guidance on exterior moisture exposure says most exterior coatings require at least 4 hours of drying before moisture can settle on the surface. Cold conditions can make an early-afternoon stopping point necessary.
Don't confuse an accelerated rain-resistance claim with complete curing. The Benjamin Moore exterior coating technical sheet describes rain resistance after about 60 minutes under stated conditions, while retaining a 35°F minimum and warning that low temperatures and high humidity extend drying, recoating, and service times.
Recoat readiness and full cure are different milestones. Follow the cold-weather recoat instructions before adding another coat, and reserve washing, abrasion, or any deliberate water exposure until the coating has reached its required service condition.
Dry to the touch tells you about the surface. It doesn't prove that the coating is ready for another coat, overnight moisture, or normal use.
Don't improvise an enclosure with an unattended portable heater. Temporary heat requires a safe, controlled setup that addresses ventilation, fire risk, and moisture. For ordinary residential work, waiting is often simpler and more reliable than trying to manufacture summer around a wall.
Paint Now or Wait Until Spring
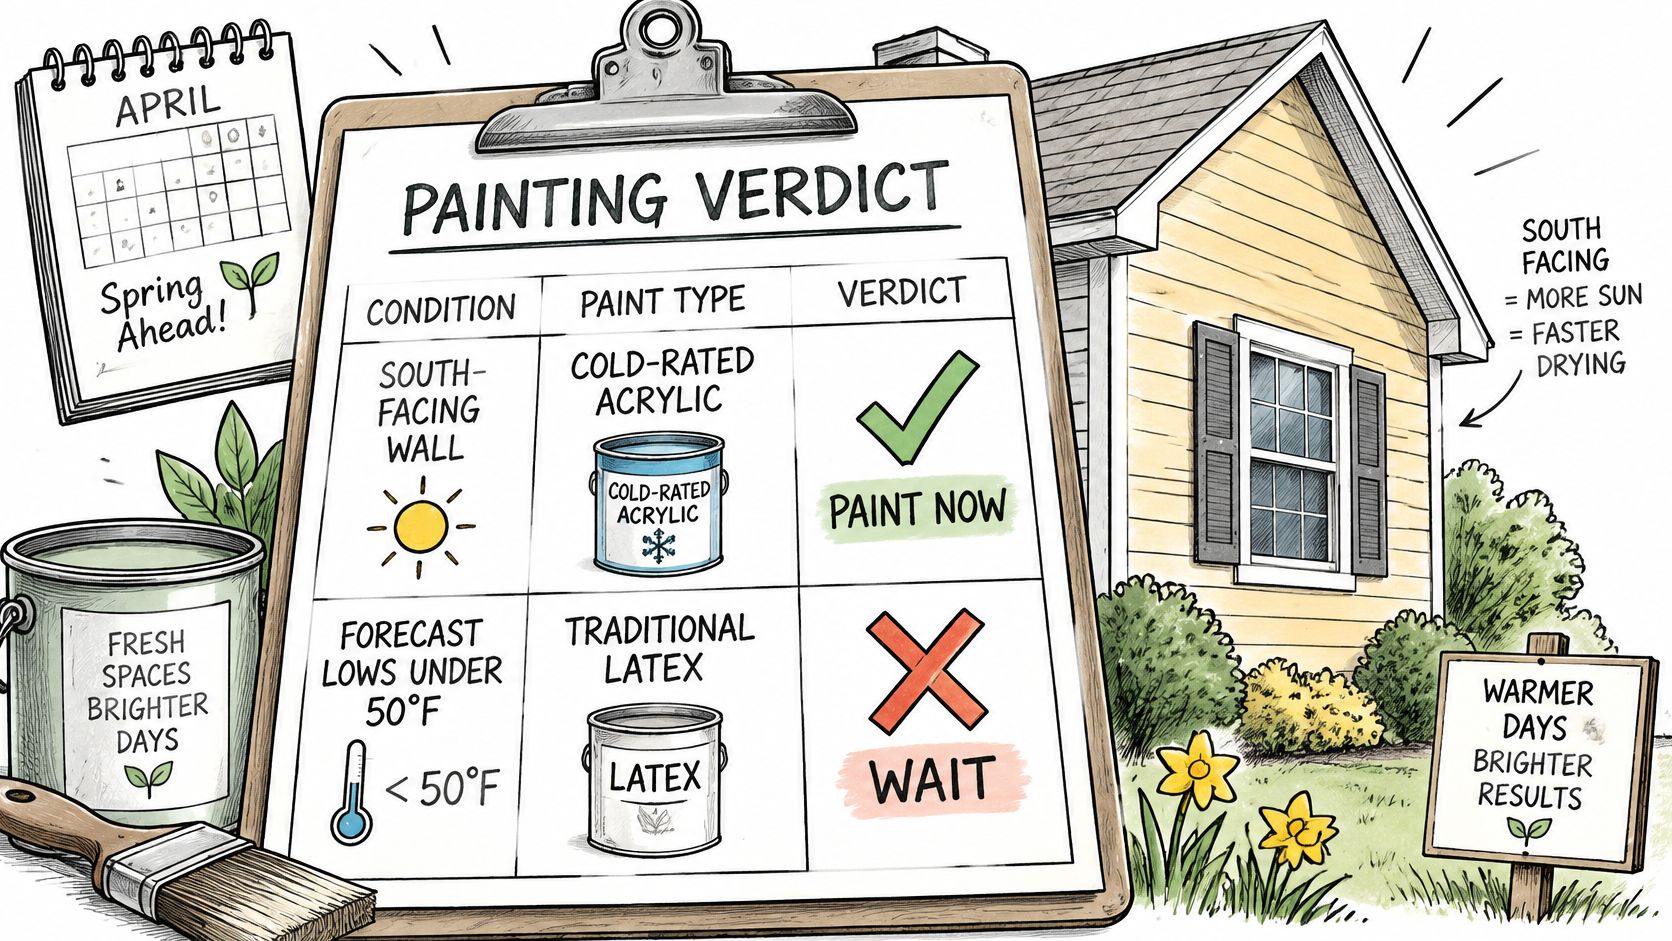
| Situation | Verdict | Reason |
|---|---|---|
| Traditional latex with overnight lows below its curing requirement | Wait | Overnight temperatures below the curing floor undo the gains of a warm application window. |
| Cold-rated acrylic on a sheltered or south-facing wall with a stable curing forecast | Paint midday only | Proceed only while the measured surface and moisture conditions qualify. |
| Bare wood awaiting a suitable primer, or damp masonry | Wait on the finish coat | Establish a dry, compatible substrate first; bare wood alone isn't a reason to reject all work. |
| Peeling paint on an older building requiring regulated disturbance | Hire a certified firm first | Lead-safe preparation must be resolved before scraping begins. |
| Oil-based paint with rising air temperature at its application floor | Paint only if the surface also qualifies and is dry | Check the substrate separately before approving paint on it. |
A winter opening is useful when the building is ready for it. It becomes a poor bargain when the crew must rush preparation, stretch drying times, or finish damp elevations to meet a calendar date. The wall gets the vote on every one of those calls, because a reading taken on the surface itself carries more weight than any forecast.
Compare the actual costs
Proceeding can protect prepared surfaces and avoid leaving a partly completed project exposed. Waiting can also have consequences, especially where open joints or deteriorated trim allow water entry. Address the leak or failed detail on its own before scheduling any coating around it.
A failed winter coat creates another preparation job. Someone must remove unstable material, sand or feather edges under appropriate controls, replace damaged caulk where necessary, and repaint. Ask whether the proposed winter approach includes those risks in the written scope and warranty.
For a sound existing finish with cosmetic fading, postponing is usually the cleaner decision. For exposed or damaged areas, consider targeted repairs and a suitable primer when conditions permit, then schedule the full finish separately.
Divide the project by exposure
A sheltered front elevation and a damp rear courtyard don't need the same completion date. Sequence small, complete areas within their own measured windows instead of promising the whole exterior on consecutive days.
Horizontal wood needs separate planning. If porch or deck boards need structural repairs as well as finishing, coordinate with a Bronx deck-building contractor before coating them. Replace deteriorated boards and correct any water-trapping detail first, then treat the surface as a normal painting decision.
For a borderline day, make a direct decision:
- Surface temperature fails: Postpone application, even if the air feels mild.
- Condensation margin fails: Wait for a surface that has held at least 5°F above dew point through the curing window.
- Curing forecast fails: Hold the coat; anything applied that afternoon still has to survive the night's lows.
- Preparation or containment fails: Correct the work plan before touching the paint.
I would rather approve a smaller winter scope with clear limits than a full repaint built around optimistic weather assumptions. A contractor should be able to explain which wall is ready, which product qualifies, and why the conditions will remain suitable after the crew leaves.
Before approving a winter day, I want the wall's surface reading above the product's floor and a dew point margin that holds through the curing window.
Excellent Home Improvement offers exterior painting with surface preparation, priming, and finishing as part of its NYC residential renovation services. Visit Excellent Home Improvement to discuss your exterior surfaces, necessary repairs, and whether a controlled winter scope or a spring schedule makes more sense.