What Is Level 5 Drywall Finish and When You Need It
What Is Level 5 Drywall Finish. Learn what a level 5 drywall finish is, how it differs from lower levels, and when NYC homeowners should specify it
By Excellent Home Improvement
A Level 5 drywall finish is a full-surface skim coat applied over a completed Level 4 drywall base. It is the highest of the six finish levels, and it's mainly an appearance specification, not a structural or fire-resistance upgrade.
You're standing in a gutted NYC apartment, brownstone, or condo with fresh gypsum board on the walls. The architect has written “Level 5 finish” into the drawings, the painter is asking about sheen, and the contractor's proposal says only “smooth drywall.” That's where expensive misunderstandings begin. Those phrases don't describe the same scope.
The practical question isn't whether Level 5 sounds premium. It's whether the room's lighting, color, paint sheen, and viewing conditions justify the extra preparation, and whether the contract clearly requires the work. The standard gives you a benchmark. The field inspection tells you whether the crew delivered it.
Table of Contents
- What a Level 5 Drywall Finish Actually Means
- How the Six Drywall Finish Levels Stack Up
- What Goes Into a Level 5 Finish Step by Step
- When Level 5 Is Worth the Extra Cost
- Why a Level 5 Wall Can Still Look Imperfect
- Level 5 in NYC Kitchens, Baths, Condos, and Brownstones
- How to Specify Level 5 in Your Contract
- The Bottom Line on Level 5 Drywall Finish
What a Level 5 Drywall Finish Actually Means
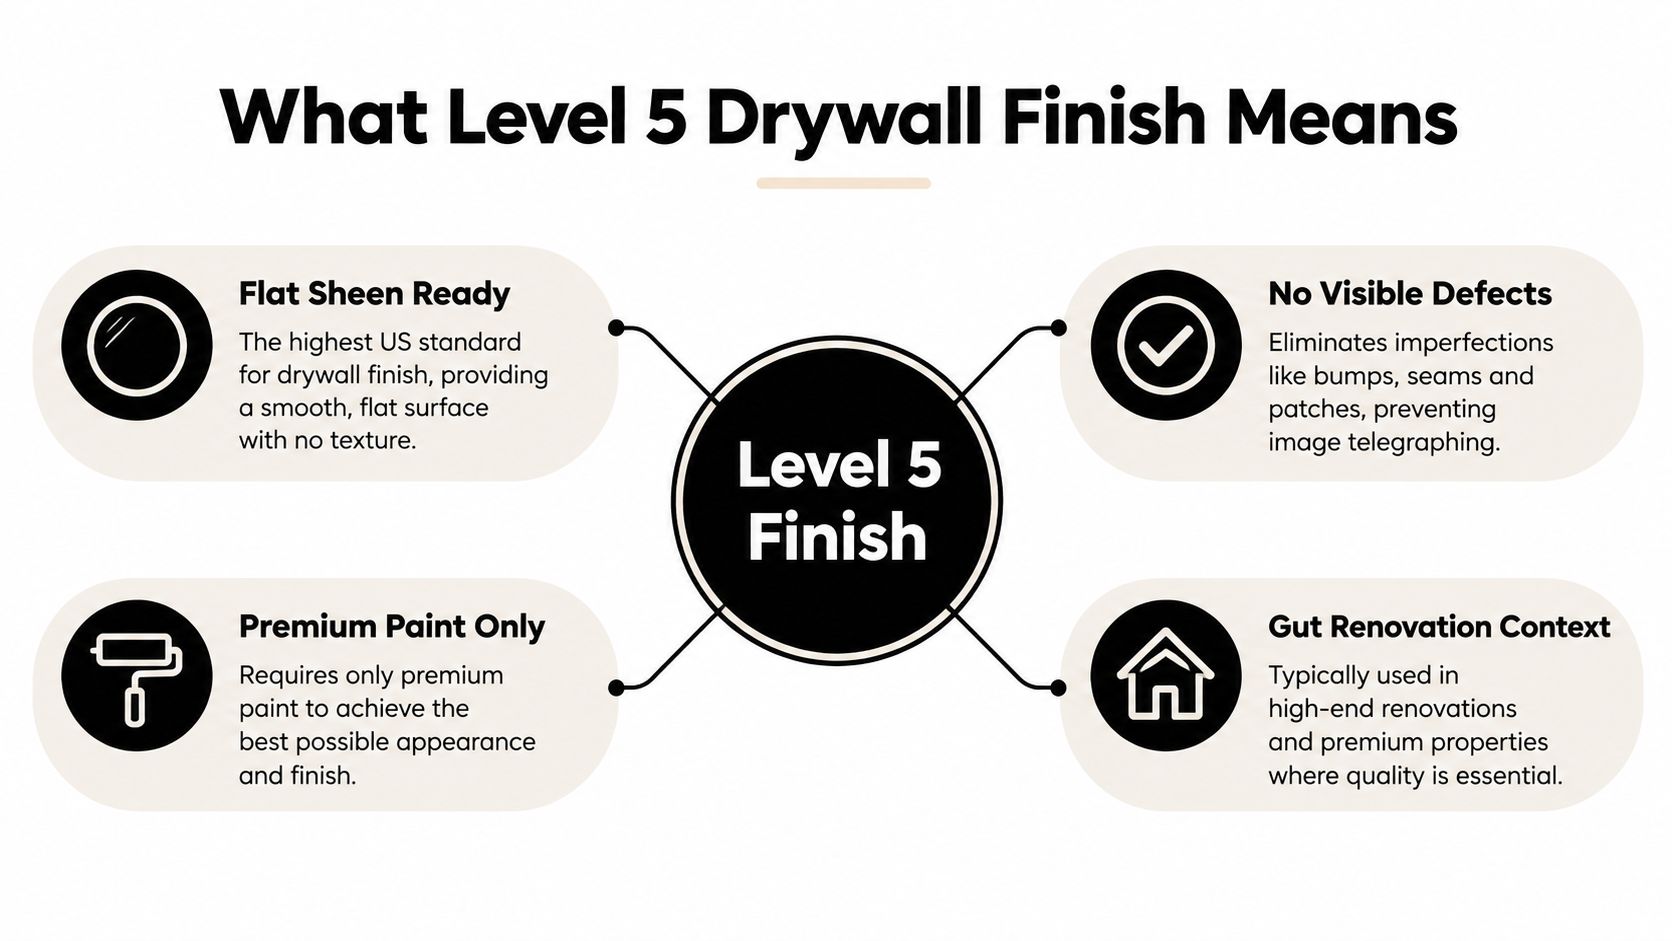
In plain language, Level 5 drywall finish means the crew completes the wall to Level 4, then applies a thin, continuous skim coat across the entire gypsum-board surface. The skim coat isn't limited to seams, corners, or screw heads. It treats the board paper and the joint-compound areas as one surface so they absorb and reflect finish coatings more uniformly.
The recognized framework is the Gypsum Association's GA-214 finish standard, which defines six levels, from Level 0 through Level 5. ASTM C840 also recognizes Level 5 as the highest standardized gypsum-board finish level and describes complete surface coverage rather than a required skim-coat thickness in the ASTM C840 provisions.
Why the skim coat matters
Drywall paper and joint compound don't have identical porosity or texture. If the painter applies finish paint directly over a surface with those differences, seams and repaired areas can show through as joint photographing, flashing, or banding. A full skim coat reduces that contrast by creating a more consistent substrate.
That doesn't mean the skim coat builds a thick plaster shell or straightens a crooked wall. It's a thin surface treatment, and it still depends on proper board installation, sound framing, accurate taping, controlled sanding, and suitable primer.
The four questions homeowners need answered
A useful Level 5 decision comes down to four practical jobs:
- Understand the standard: Know what the phrase requires and what it doesn't promise.
- Compare finish levels: See the difference between ordinary exposed-board preparation and a full-surface treatment.
- Decide by room: Match the specification to lighting, color, sheen, and visibility.
- Write the scope: Require the sequence, inspection conditions, primer, and acceptance criteria in the contract.
A concise explanation you can give a designer or contractor is this: Level 5 is a Level 4 drywall finish followed by a complete skim coat over the board surface to create a more uniform base for decoration. Architects and designers specify it when the finished room won't forgive visible seams, absorption changes, or shallow surface irregularities.
How the Six Drywall Finish Levels Stack Up
GA-214 creates a progression. Each level adds surface treatment for a more demanding visual result, although the right level depends on what will cover the board and how people will see it.
| Level | What It Covers | Typical Use |
|---|---|---|
| Level 0 | No finishing treatment | Temporary construction or areas where the board remains unfinished |
| Level 1 | Tape embedded in joint compound | Concealed spaces where appearance isn't important |
| Level 2 | Tape and fasteners receive compound treatment | Areas receiving tile or another substantial covering |
| Level 3 | Additional joint-compound treatment and surface correction | Heavy texture or applications that won't expose a smooth surface |
| Level 4 | Tape, joint coats, angle treatment, and fastener coverage with sanding | Standard painted residential walls under ordinary conditions |
| Level 5 | Level 4 requirements plus a continuous skim coat over the entire surface | Critical lighting, dark colors, sheen, gloss, enamel, and demanding smooth-wall designs |
Level 0 is a visibility decision. The panels may be installed, but the finish work hasn't been developed for an exposed decorative surface. Level 1 embeds the tape, which can be enough where the construction will remain hidden.
Level 2 gives the joints and fasteners more compound, making it suitable for coverings such as tile. Level 3 provides more preparation, but it still isn't the choice for a demanding smooth painted wall. The final coating or texture does much of the visual work.
Level 4 is the baseline, not a failed Level 5
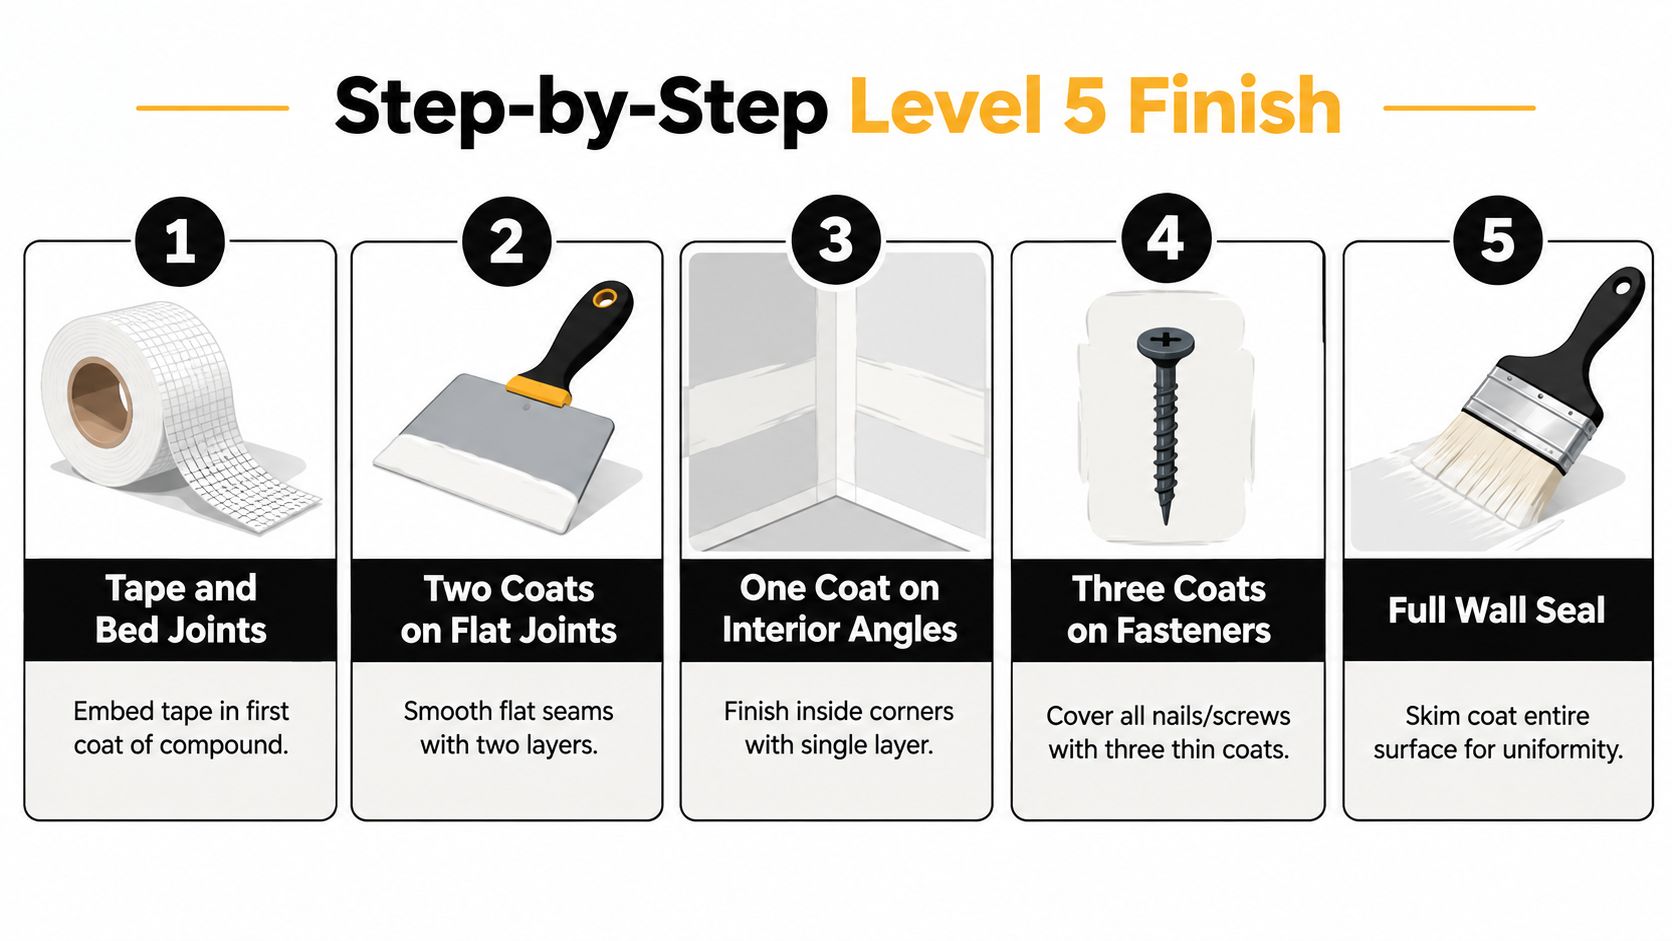
Level 4 is not defective just because it isn't Level 5. It's the normal benchmark for many painted residential rooms, particularly where the finish is flat and the light is forgiving. Its requirements include tape embedded in compound, two separate coats over flat joints, one coat over interior angles, and three coats over fastener heads and accessories.
Level 5 adds one distinct operation. The crew must cover the complete board surface with a thin skim coat after the Level 4 base is ready. That distinction matters because “extra sanding,” “smooth walls,” and “paint-ready drywall” don't necessarily mean the entire surface received the treatment required for Level 5.
Choose the level by the finished room
A utility area behind tile has different demands from a living room with a dark accent wall. A bedroom with soft, diffuse light has different demands from a condo wall illuminated by a fixture mounted close to the surface. The finish level should follow the final visual conditions, not a generic upgrade menu.
What Goes Into a Level 5 Finish Step by Step
A proper Level 5 finish is a sequence, not a bucket of premium compound added at the end. The wall must first be installed and finished correctly enough to support the additional surface treatment.
The required base work
The crew begins by embedding tape in joint compound. Flat joints then receive two separate compound coats, interior angles receive one coat, and fastener heads and accessories receive three coats. Those requirements come from the Level 4 base and remain part of Level 5.
The surface is corrected and sanded as needed. Tool marks, ridges, loose material, and visible transitions need attention before the skim coat begins. A skim coat won't excuse poor board alignment, badly set fasteners, open joints, or careless corner work.
The operation that defines Level 5
Once the wall has reached Level 4, the finisher spreads a thin, continuous film of joint compound or a purpose-made surfacer over the entire board face. The material is worked into the paper to reduce differences in porosity and texture. The objective isn't a specified thickness. ASTM C840 focuses on complete coverage and a smooth surface without tool marks or ridges.
The crew may need to flatten, lightly sand, and correct the surface after drying. The result should be visually consistent before the painter arrives.
A contractor's drywall installation and finishing scope should make that sequence explicit rather than using “premium finish” as a substitute.
Primer is part of the visual system
The skim coat must be fully dry before primer and paint. Coating damp compound can contribute to visible banding, flashing, or texture differences later, even if the wall looked acceptable during the drywall inspection.
A dedicated drywall primer or compatible primer-sealer helps manage the different absorption characteristics of the paper and compound. The proposal should identify whether primer is included, who applies it, and whether the finish inspection occurs after primer as well as before it.
Practical rule: If the scope names Level 5 but doesn't name the complete skim coat and primer sequence, ask the contractor to revise it before work begins.
When Level 5 Is Worth the Extra Cost
Level 5 adds labor, drying time, sanding, inspection, and coordination with the paint system. It's not automatically the right choice for every wall in a renovation. The upgrade earns its place when the room exposes small differences that a standard Level 4 finish may leave visually unobtrusive.

Conditions that justify the specification
The USG construction handbook identifies Level 5 for gloss, semigloss, or enamel coatings, untextured walls where flat joints need to disappear, and areas exposed to critical lighting. That guidance matches what happens on NYC jobsites.
Level 5 usually makes sense when you have:
- Wall-wash or raking light: Fixtures close to the wall can exaggerate ridges, depressions, sanding marks, and absorption changes.
- Dark or deep colors: Dark coatings often make flashing and surface variation easier to see.
- Sheen or gloss: Reflective paint highlights changes in the plane and texture.
- Large uninterrupted surfaces: Long living-room walls, stair walls, and open-plan spaces give defects nowhere to hide.
- Feature walls and premium millwork zones: The cleaner the surrounding design, the more visible inconsistent drywall becomes.
- High-visibility kitchens and baths: Strong task lighting and reflective finishes create demanding conditions.
Where Level 4 is usually sensible
A bedroom, office, or secondary room painted flat under soft, diffuse light may not need a full Level 5 treatment. Level 4 can be the more disciplined choice when the final decoration won't expose the additional uniformity.
That's not a shortcut if the Level 4 work is executed properly. It's a way to spend preparation time where occupants will actually see the difference.
Level 5 pays for itself through visual control, not through status. If the room has ordinary light and a forgiving finish, the benefit may be difficult to see.
The paint contractor still matters. A Level 5 surface can be undermined by poor rolling, inconsistent coverage, incompatible primer, or a sheen selected without considering the wall condition. Include the complete preparation and coating system in the painting services scope, not just the drywall line item.
Why a Level 5 Wall Can Still Look Imperfect
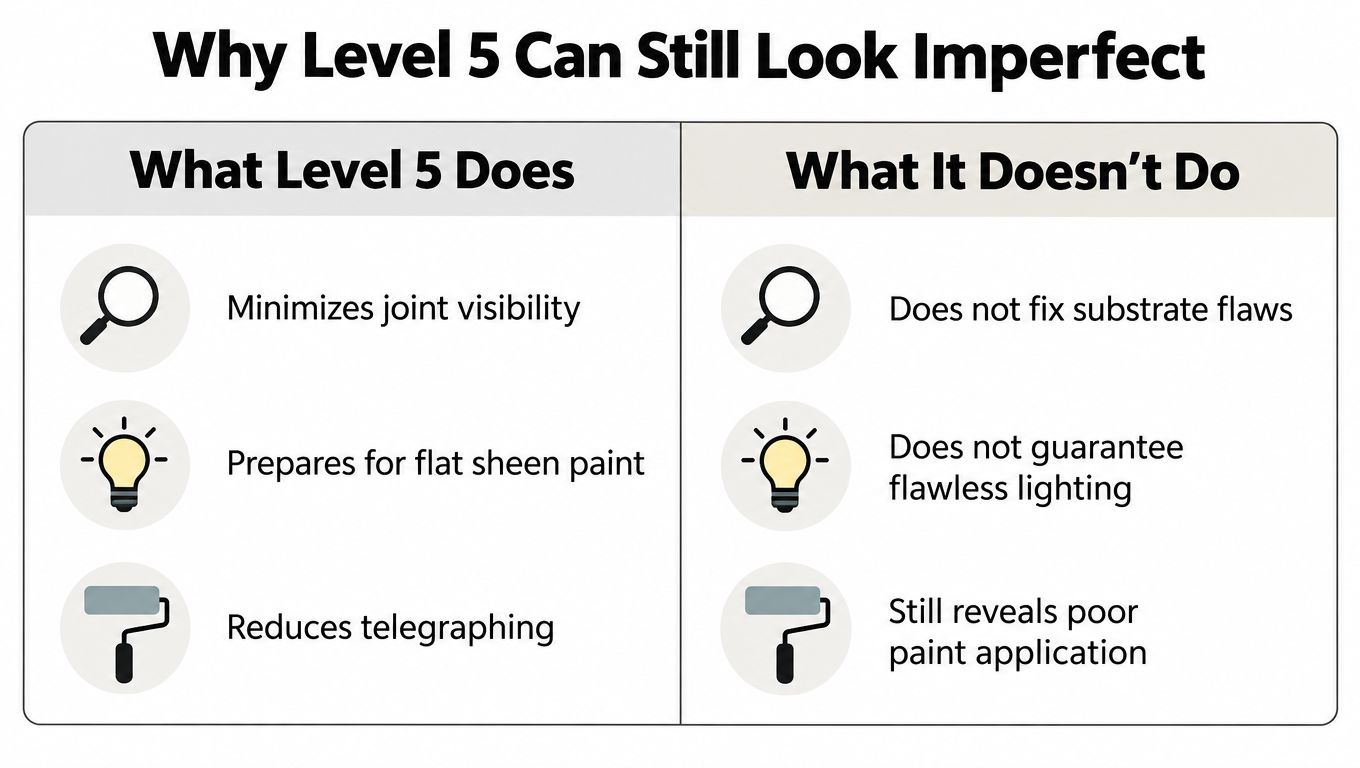
Level 5 is the most effective standardized method for minimizing joint photographing and surface variation. It isn't a guarantee that a wall will look flawless from every angle, under every fixture, or after every paint application.
Strong daylight through large windows can graze a wall for part of the day. Wall-washing LEDs, recessed downlights, and low-angle illumination can reveal shallow irregularities that disappear under ordinary diffuse light. The Gypsum Association's finish guidance makes the central distinction clear: critical lighting can expose texture and porosity differences, while Level 5 minimizes rather than absolutely prevents those effects.
What the skim coat can and can't correct
A full-surface skim coat helps unify the decorative substrate. It doesn't repair every underlying condition.
- It can reduce joint visibility: The treatment limits the contrast between paper and compound.
- It can reduce flashing risk: A uniform surface gives primer and paint a more consistent base.
- It can minimize telegraphing: Seams, fasteners, and repaired areas are less likely to stand out.
- It can't straighten bad framing: A bowed stud or uneven plane remains a substrate problem.
- It can't replace workmanship: Poor taping, incorrect fastener setting, and careless sanding still affect the result.
- It can't control the lighting plan: Fixture placement may create shadows no finish level can completely remove.
- It can't rescue bad paint application: Roller texture, uneven coverage, or unsuitable sheen can make a prepared wall look worse.
Inspect the whole system
The final appearance depends on board installation, joint treatment, skim-coat consistency, drying, sanding, primer, topcoat, color, and lighting. If one trade treats those decisions separately, the homeowner may end up with a technically specified Level 5 wall that performs poorly in the finished room.
Inspect a representative area with the intended fixtures operating. Review it from normal viewing distances, not with your face inches from the wall and not only under temporary work lights. For a dark or reflective finish, approve a mock-up before the crew spreads the treatment throughout the space.
Level 5 in NYC Kitchens, Baths, Condos, and Brownstones
A Manhattan condo living room with wall-wash LEDs is a strong Level 5 candidate. The long, uninterrupted surface and low-angle light can expose joint transitions that look harmless under construction lighting. Specify the full skim coat, primer, and final sheen together, then inspect the wall with the actual fixture location and color sample.
A Brooklyn brownstone stair wall deserves similar attention. Stair lighting often strikes the surface from changing angles, while the wall remains visible from the entry, landing, and adjacent rooms. Level 5 can reduce the visual noise, but it won't correct a crooked substrate or guarantee a perfectly planar wall under every viewpoint.
Kitchen conditions vary by wall
A Bronx kitchen with strong task lighting needs a room-by-room decision. Walls close to reflective cabinetry, stone, or polished fittings may benefit from the extra uniformity, particularly if the design calls for a dark or sheen coating. Areas receiving tile don't need the same exposed smooth-wall specification because the tile covers the substrate.
The quote should identify which walls are painted, which are tiled, and whether ceilings receive the same treatment. “Kitchen drywall” is too broad to establish the deliverable.
Bathrooms need coating coordination
A bathroom with a dark feature wall and strong illumination near a tub or vanity can be visually demanding. Level 5 may be appropriate on the exposed painted wall, while wet-area construction, waterproofing, ventilation, and tile preparation remain separate scopes.
A contractor should identify the compatible primer and finish coating, especially where humidity, sheen, and reflected light combine. The drywall finish doesn't replace waterproofing or correct a poor paint system.
In a brownstone or condo, specify the finish by surface and lighting condition. Don't assume the phrase “whole-home Level 5” tells you which walls, ceilings, or paint systems are included.
How to Specify Level 5 in Your Contract
A useful contract clause names the standard, the sequence, the surfaces, and the inspection conditions. It gives the crew something measurable to build and gives the homeowner something concrete to review.
Put the required language in writing
Include these points in the scope:
- Standard: Reference GA-214 or ASTM C840 and identify Level 5.
- Base finish: Require completion of the Level 4 treatment before the skim coat.
- Joint work: State the tape, flat-joint, interior-angle, and fastener requirements.
- Full-surface treatment: Say that the skim coat covers the entire exposed gypsum-board surface, not only seams or repairs.
- Material: Identify the joint compound or purpose-made surfacer and any compatibility requirements.
- Correction: Require sanding and surface correction as needed to remove tool marks and ridges.
- Primer: State that the fully dry surface receives drywall primer before finish paint.
- Paint system: Identify color, sheen, topcoat responsibility, and whether the painter is included.
- Mock-up: Require a representative sample for dark colors, sheen, gloss, or critical lighting.
- Acceptance: Review the surface under the intended lighting from normal viewing distances.
Reject vague finish language
“Smooth drywall,” “premium walls,” and “paint-ready” can describe different levels of preparation to different contractors. They don't establish whether the entire surface received a skim coat, whether primer is included, or how the work will be judged.
The contract should also list the exact rooms, walls, ceilings, and exclusions. A condo owner may want Level 5 in the living room and entry but not behind tile. A brownstone owner may need it on a stair wall and ceiling while using Level 4 in softly lit bedrooms.
Inspect before paint and after primer
Schedule a drywall inspection before the painter applies the finish coating. Then review the primed surface again. A primer coat can reveal flashing, sanding marks, or transitions that weren't obvious against raw compound.
For NYC projects involving permits, co-op or condo approvals, and multiple trades, use a contractor with a documented scope and project-management process. The guide to hiring a licensed NYC contractor can help you evaluate the broader working relationship as well as the finish specification.
The Bottom Line on Level 5 Drywall Finish
Level 5 is Level 4 plus a continuous skim coat across the entire drywall surface. It's the highest of the six GA-214 finish levels, but it's an appearance-control specification, not a structural improvement.
The upgrade makes the most sense where the room has dark or deep paint, sheen, gloss, enamel, large uninterrupted walls, feature surfaces, or wall-wash and raking light. It may be unnecessary in a softly lit bedroom or office finished with a forgiving flat coating.
The important limitation is practical. Level 5 reduces visible variation, but it doesn't eliminate the effects of framing, board alignment, workmanship, paint application, fixture placement, or harsh low-angle light. Primer and topcoat selection belong in the same conversation as the drywall finish.
For an NYC renovation, the decision rule is straightforward: specify Level 5 where the room demands visual uniformity, pair it with the correct primer and paint system, and inspect it under the actual lighting rather than temporary work lights or showroom conditions.
Excellent Home Improvement provides drywall installation, Level 5 skim-coat finishing, painting, and broader kitchen, bathroom, condo, brownstone, and full-home renovation services across NYC, the Bronx, Westchester, and the five boroughs. Visit Excellent Home Improvement to discuss your walls, lighting plan, finish level, and written renovation scope before construction begins.